How to Create a Scheduled Task D-View 7
Scenario: Schedule reboot
Step 1 – Login to D-View 7
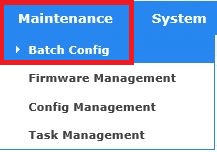
Step 2 – Go to “Batch Config”
Maintenance > Batch Config
You should get the following “Common Template” page
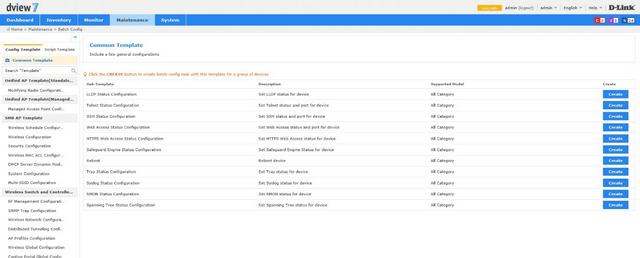
Select “Reboot” by clicking “Create”

Step 3 – Select the device you want to reboot – In our example we have used:
DXS-3600-32S
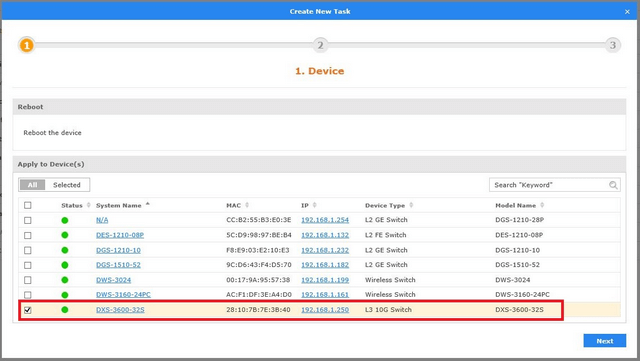
Click “Next”
Step 4 – Set the task details – Use the following as a guide:
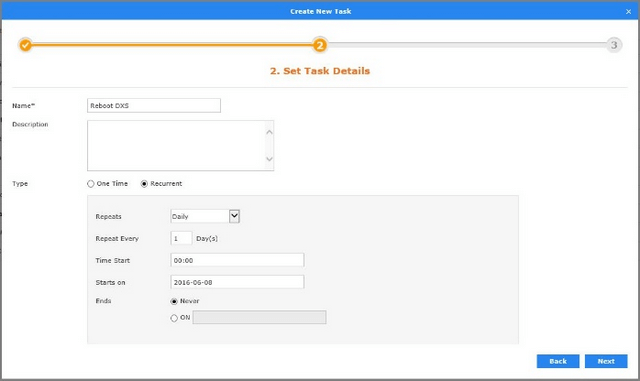
Click “Next”
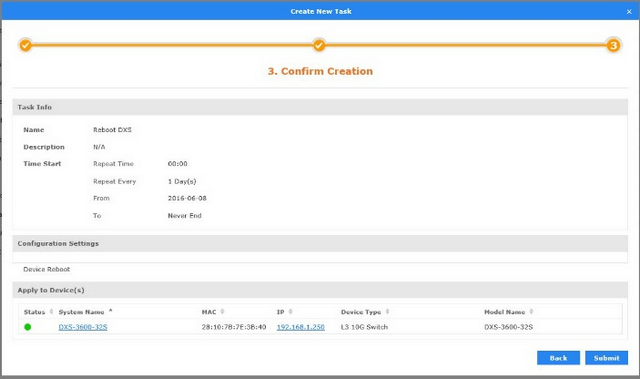
Click “Submit”
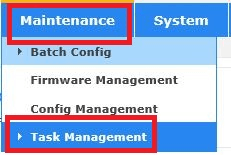
Step 5 – Check the “Task Management” to see current task
Maintenance > Task Management

Step 1 – Login to D-View 7
Step 2 – Go to “Batch Config”
Maintenance > Batch Config
You should get the following “Common Template” page
Select “Reboot” by clicking “Create”
Step 3 – Select the device you want to reboot – In our example we have used:
DXS-3600-32S
Click “Next”
Step 4 – Set the task details – Use the following as a guide:
Click “Next”
Click “Submit”
Step 5 – Check the “Task Management” to see current task
Maintenance > Task Management
These may also help:
- How to Install D-View 7 Read Answer
- $name Read Answer